Pit Pics Without Panic: A Private Camera-Roll Guide to Underarm Change

Photo: Joshua Qualls (Massachusetts Governor’s Press Office), Public domain, via Wikimedia Commons
Let us begin with the bit nobody says out loud: photographing your armpits feels odd for approximately four seconds. Then it becomes surprisingly sensible. You are not building a glamour portfolio. You are making a small, private visual record so that future-you does not have to rely on a vague memory, a bathroom mirror and the phrase “I think it was always like that?”
At Armpits4August, we are firmly pro-pit and pro-not-panicking. A photo is not a diagnosis. It is a noticing tool. Think of it as a quiet little archive, not a tribunal.
Why bother with a pit pic at all?
Underarms are awkward to see. They are tucked away, shadowed, and often examined in a hurry while you are already late for something. Changes can be gradual: a freckle that seems a shade darker, a patch of skin that looks a bit different, a lump you can feel but cannot quite describe. Memory is charmingly unreliable. So is bathroom lighting, which can make a mole look like a crisis or a crisis look like a shadow.
A consistent photo gives you a baseline. It helps you answer the useful question: has this actually changed? It can also be genuinely helpful if you decide to speak to a GP, because “here is a photo from six weeks ago and here is one from today” is clearer than a panicked mime in a consulting room.
Set the scene without turning your bathroom into a studio
You do not need a ring light, a tripod or a degree in cinematography. You need repeatability. Pick one spot with decent, indirect light — a bathroom or bedroom window in daylight is usually fine. Avoid harsh overhead bulbs that cast deep shadows, and avoid direct sun that bleaches everything into oblivion. The aim is boring, honest light.
Keep the background simple if you can. A plain wall or towel rail is less distracting than a laundry mountain. Remove deodorant residue if you are comparing skin, but do not scrub yourself raw for the sake of a photo. Gentle is the word.
Angles: less acrobatics, more consistency
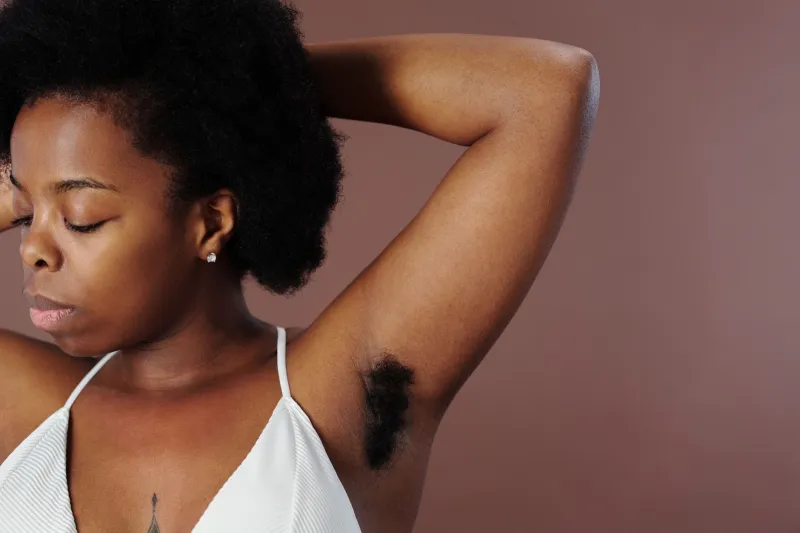
You are trying to capture the same view each time, not win a gymnastics ribbon. Stand or sit in the same position. Raise your arm in the same way. Take one straight-on shot of the underarm area and one slightly angled shot if it helps you see the edges. If you have a lump or a specific spot you are monitoring, include a wider shot so it is easy to locate later.
Do not zoom into a single pore and convince yourself it has developed opinions. Close-ups can be useful for a specific mark, but they can also make normal skin texture look dramatic. Take a wide shot first, then a closer one. And please do not contort yourself into a human pretzel. If the photo is blurry, take another. If it is still blurry, accept that your pits are not obliged to be photogenic today.
Phone privacy: your camera roll is not a public gallery
This is the part where we get sensible. These photos are private medical-adjacent images. Treat them that way. Use your own phone, locked with a passcode or biometric lock. Check whether your camera app syncs automatically to cloud storage or shared albums. If you would rather keep the images local, adjust those settings or use a secure folder where available.
Avoid sending pit pics into a family group chat by accident. It happens. It is survivable, but it is not ideal before breakfast. If you need to show a GP, you can show the image on your phone in the appointment rather than emailing it into the void. Ask first if they are happy to look at a photo, and be ready to explain the dates.
For storage, keep it simple: a dedicated album called something deeply unexciting like “Pit Check” or “Underarm Photos” is easier to find and less likely to be mixed in with holiday snaps. Back up only if you are comfortable doing so and your storage is secure. A photo that lives in three places is not inherently safer; it is just more places to lose control of it.
The calm comparison ritual
Do not compare photos daily. That is how you turn a useful record into a hobby you did not ask for. Once a month is plenty for a general check, or follow whatever rhythm your GP has suggested if you are monitoring something specific. Open the older photo and the newer one side by side. Look for meaningful differences: a new lump, a change in size, shape or colour, a sore that is not healing, bleeding, crusting, or a patch that is persistently itchy or painful.
Then close the app. Do not spend the evening zooming into JPEG artefacts and diagnosing yourself via internet comments. Photos are there to support your memory, not to become a second job.
When a photo is useful for your GP
A photo can help your GP if you are describing something that comes and goes, or if you are worried about a specific mark. Take a wide shot and a close-up, note the date, and jot down anything relevant: when you first noticed it, whether it itches or hurts, and whether it has changed. In the UK, you can book a GP appointment in the usual way. If you are unsure how urgent something is, NHS 111 can advise. Do not use a photo to delay getting help because you are waiting for it to look “bad enough”.
When to stop snapping and just book the appointment
If you have a lump, a changing mole, a sore that will not heal, bleeding, persistent pain, or skin that is red, hot and spreading, stop curating the archive and contact your GP. A photo is not a second opinion. It is a helpful note, not a doctor.
And if taking photos is making you anxious, obsessive or unkind to your body, stop. You are allowed to check by feel, ask someone you trust, or simply book an appointment and let a professional take a look. Your pits are not a project to be perfected. They are part of you, and they deserve curiosity, not cringe.
So take the photo if it helps. Keep it private. Compare it gently. Then put the phone down and get on with your day, secure in the knowledge that you are the calm, sensible curator of your very own underarm archive. No gallery opening required.